Flows
The Flows module allows designing workflow scenarios within Synergy IDE by linking documents, positions, decisions, and conditional logic in a visual diagram.
The Flows section in the Synergy IDE enables users to design and manage complex workflow processes by defining a sequence of actions and decision branches triggered by form submissions, approvals, or automated rules.
Accessing the Flows Module
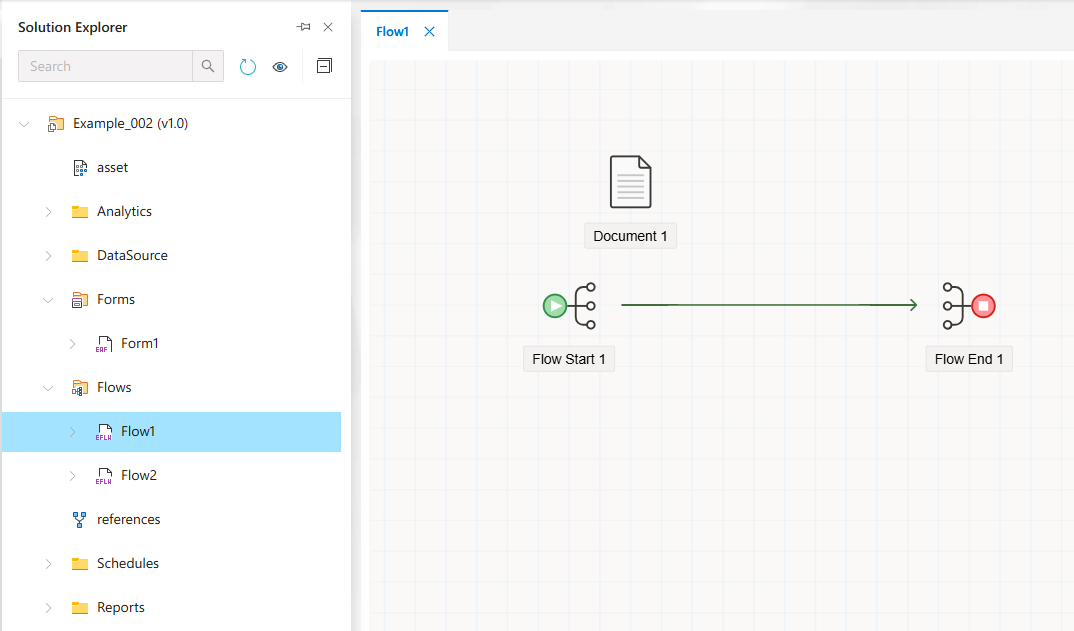
In the Solution Explorer, navigate to the Flows section and double-click the default Flow1 item to open the visual designer.
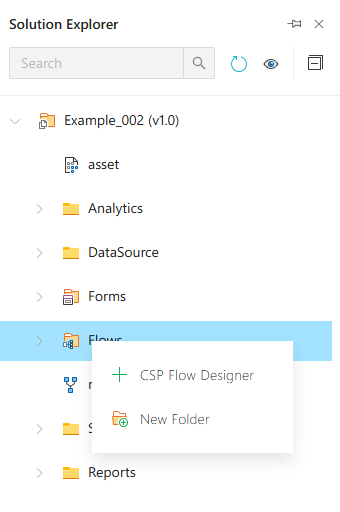
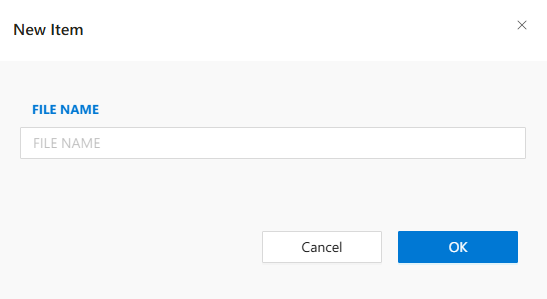
To add a new flow, right-click on the Flows section and select New Item.
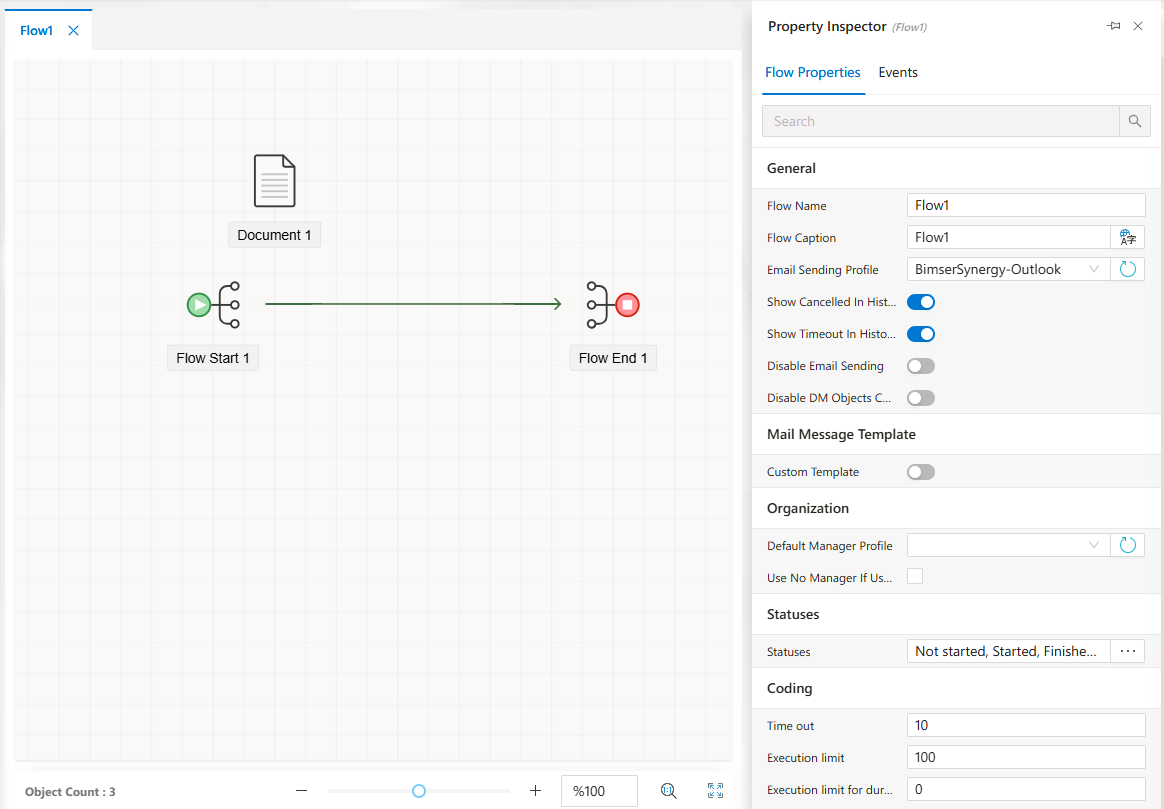
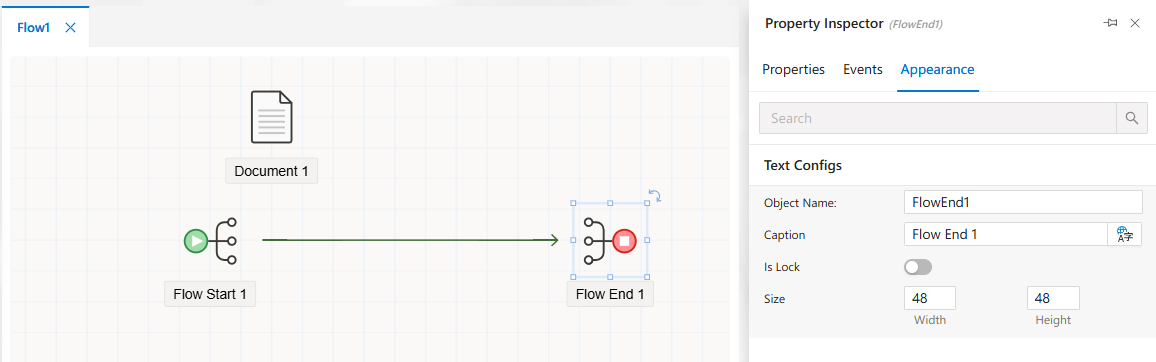
Opening a newly created flow displays a canvas with default nodes: a Flow Starter and a Flow End.
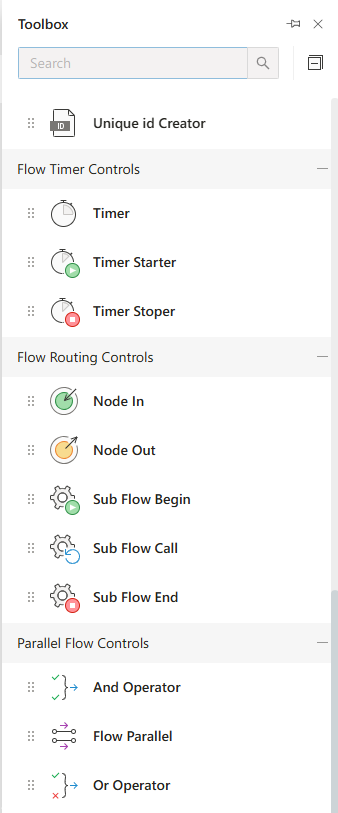
Flow Controls (Toolbox)
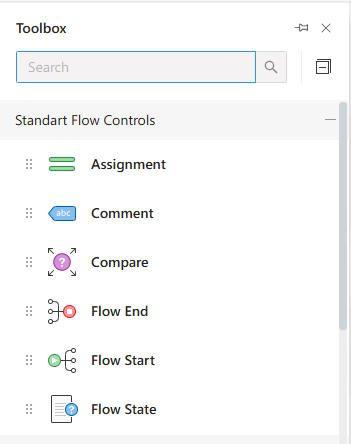
The toolbox contains categorized flow control elements for building workflows.
Standard Controls
These are basic elements used to control flow progression and logic.
Flow Starter: Entry point of a workflow.Flow End: Terminates the flow.Variable: Stores dynamic values.Compare: Applies conditional logic to split the flow.Timer: Adds delay/wait logic.
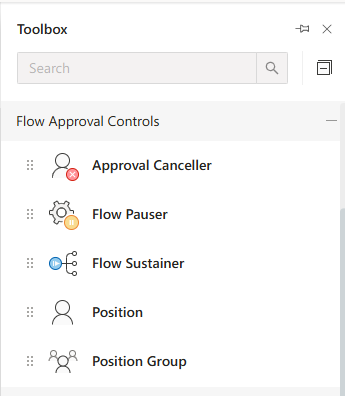
Approval Controls
Used for user-driven decisions.
Position: Assigns the flow to a single user or role.Position Group: Assigns to a group of users.Department: Assigns based on department logic.
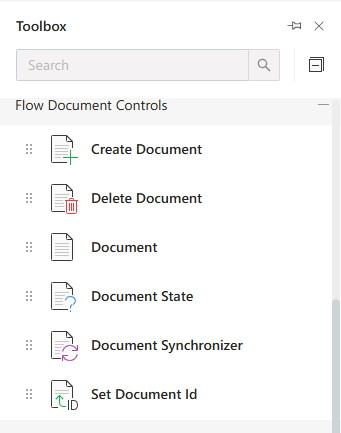
Document Controls
Handles document-specific behaviors and actions.
Document: Binds a form to the flow.Multiple Document: Handles multiple form types.
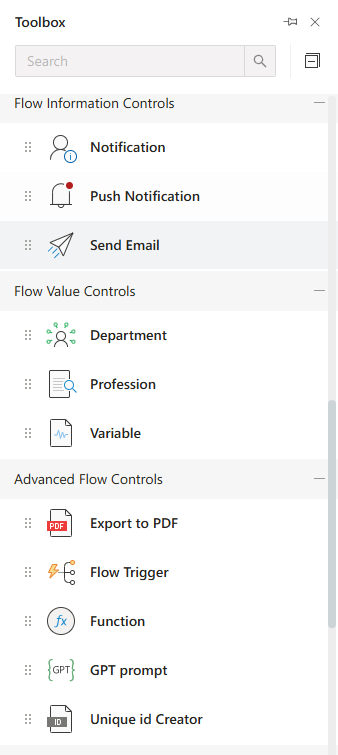
Advanced Controls
Information Node: Sends notification.Flow Value Setter: Sets values dynamically.Routing Controller: Routes based on advanced logic.Parallel Controller: Handles parallel tasks.
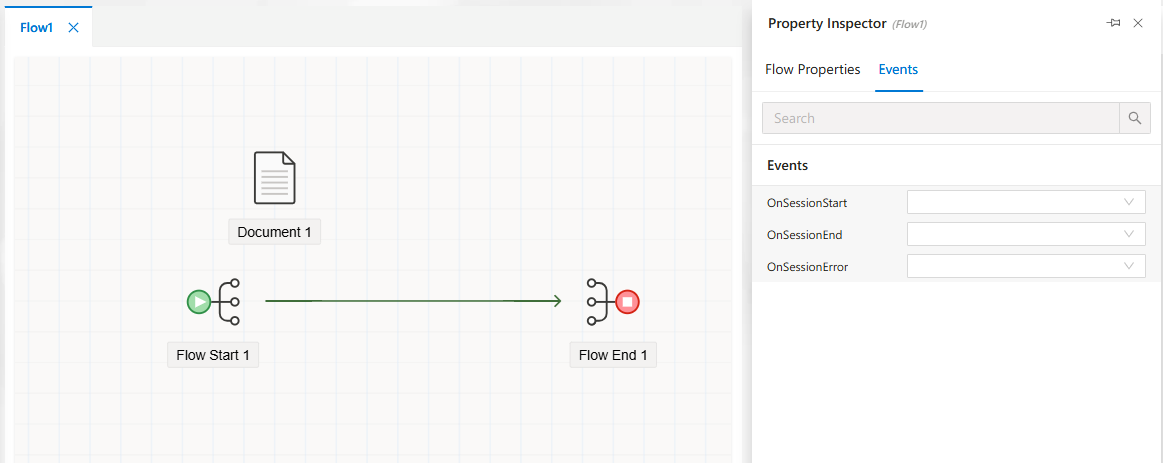
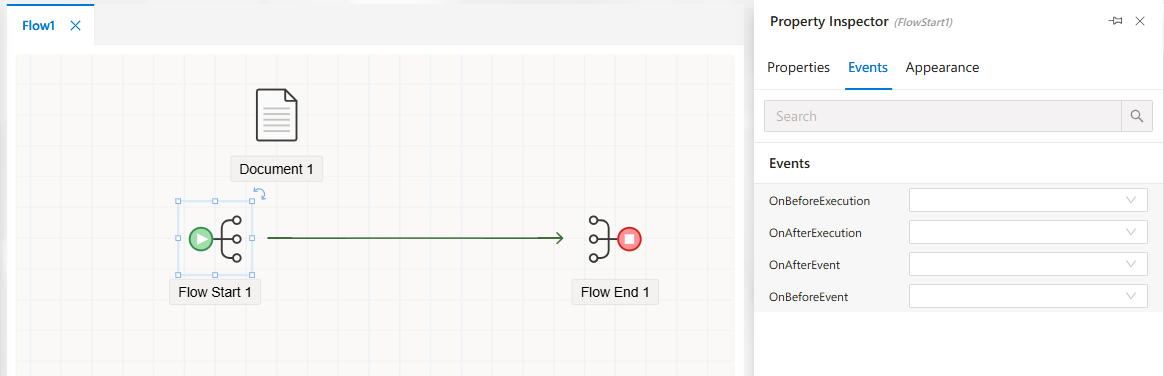
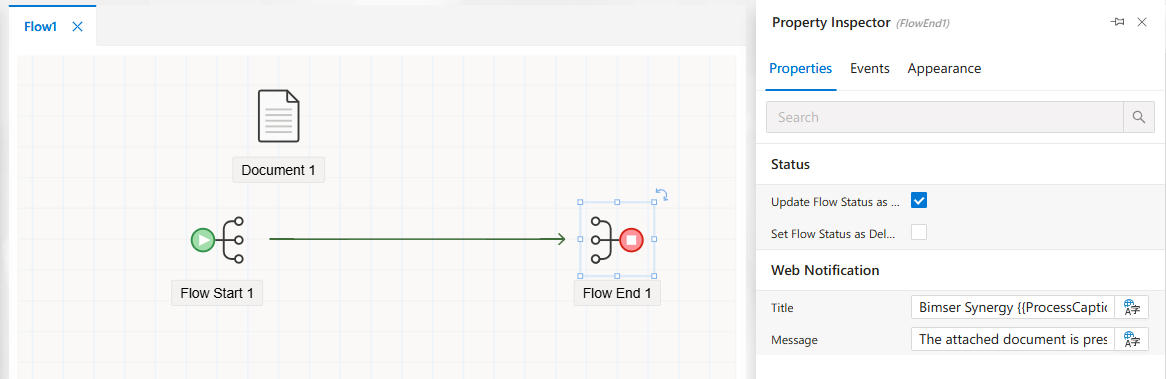
Property Inspector
Each flow object exposes properties configurable through the Property Inspector panel.
Common Properties Tab
Modify general settings like label, bound document, or target logic.
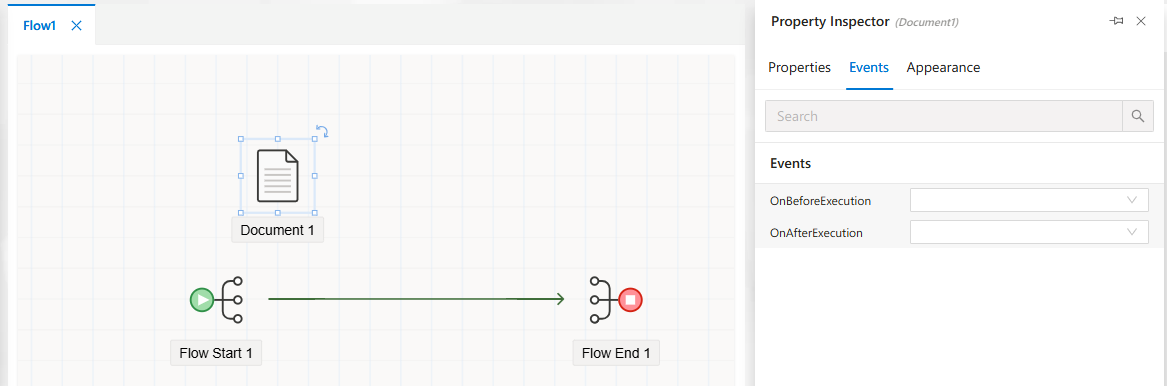
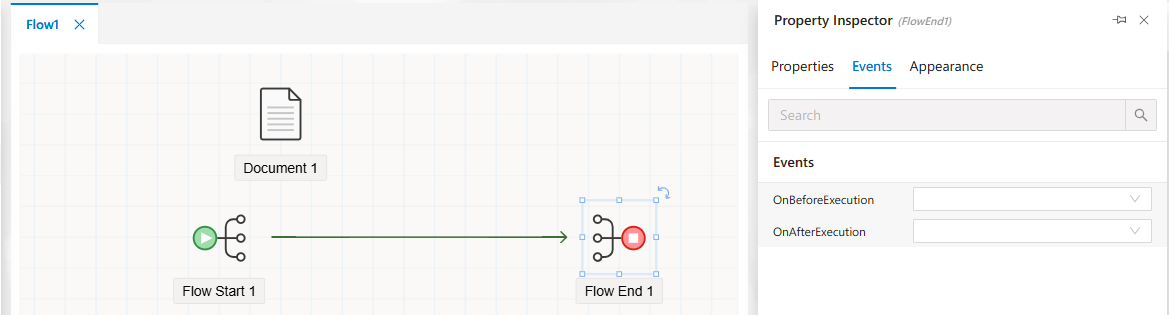
Event Settings
Define behavior on events like Send, Approve, Reject, or Revise.
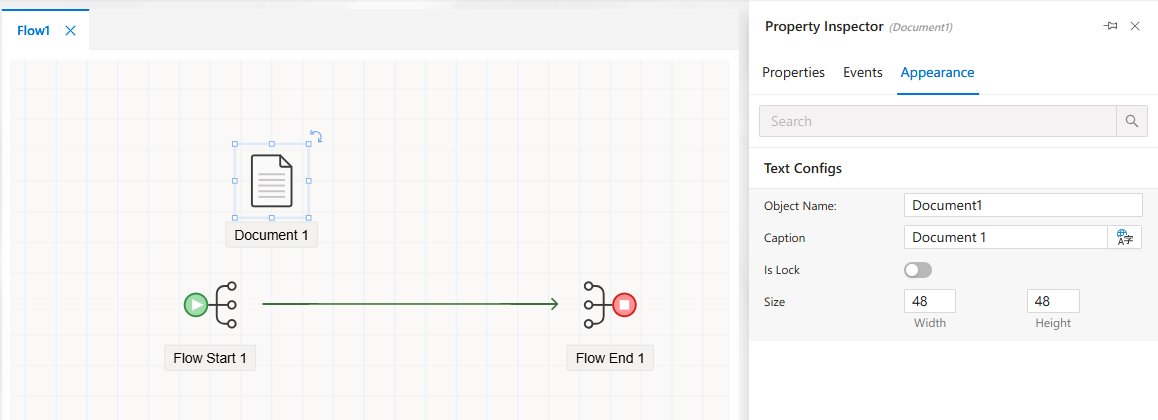
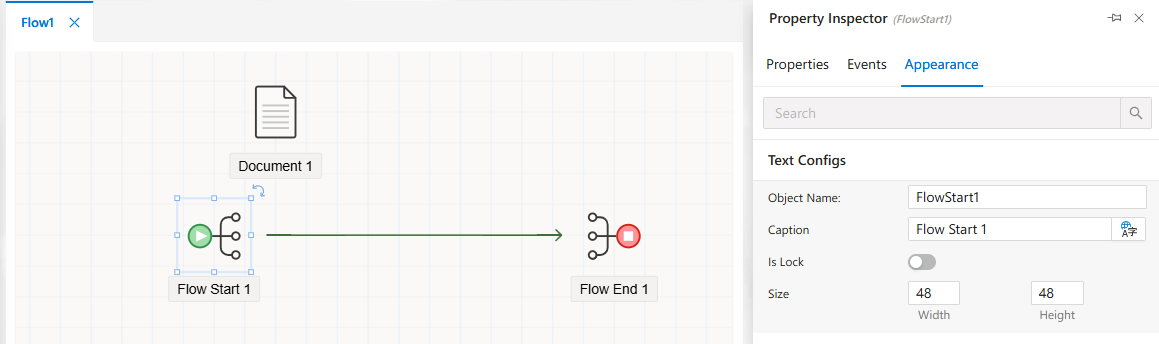
Appearance Settings
Customize visual styles of the object.
Working with Documents
Each document node can bind to a form and display the desired view.
- Assign the document in
Properties > Document. - Choose a view (default or custom).
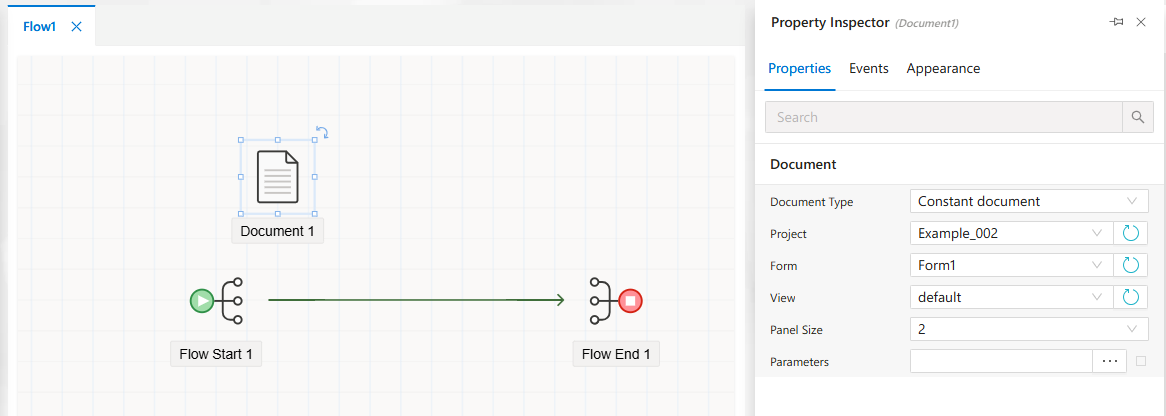
Customize appearance and layout for better visualization.
Flow Starter Node
Configure which document and form initiates the flow.
Document: Select the main form.Start Event: Default is “Send”.

You can configure Events and Appearance for this node too.
Flow End Node
Represents the conclusion of a workflow.
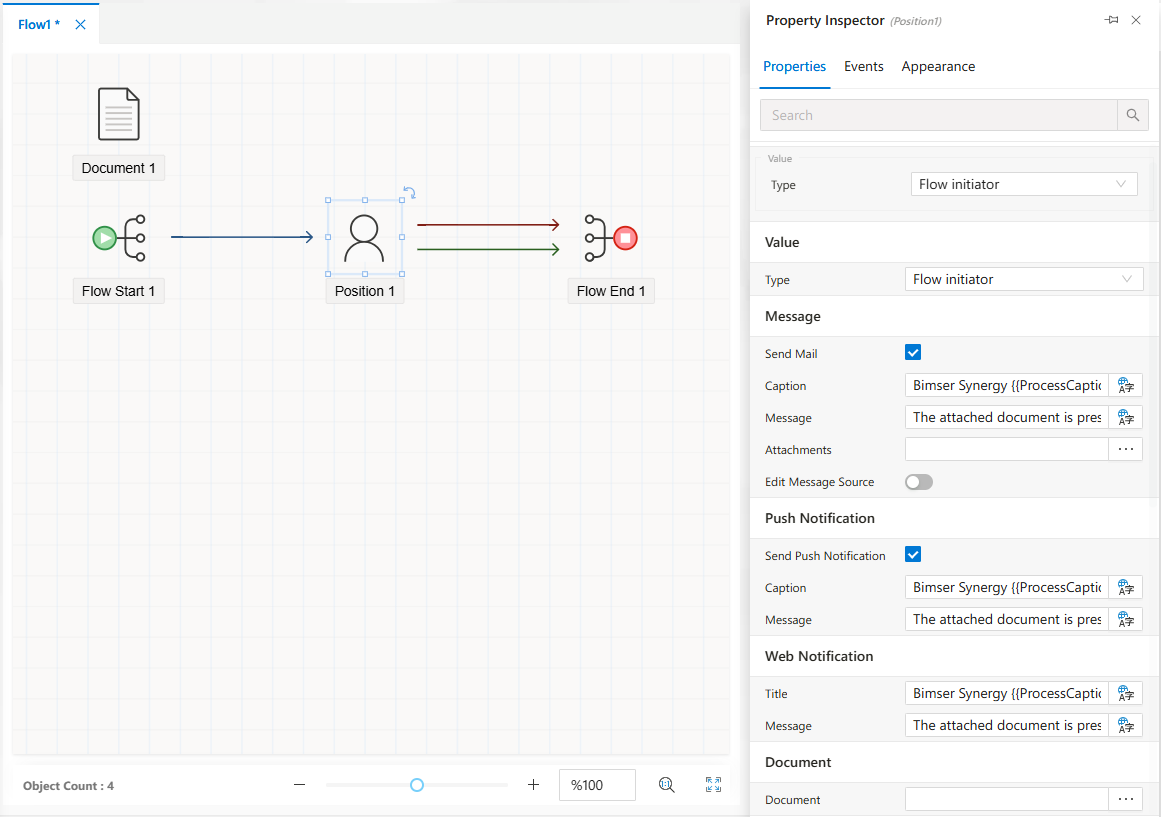
Position Node
Assigns the flow to a specific user, position, or based on hierarchy.
- Configure
Target Object,Source Type, andDocument.
Timer, Routing, and Parallel Controllers
Advanced control nodes allow waiting, routing logic, and concurrent task management.
Usage Example: Expense Approval Process
An example scenario showing how a flow can represent a business process such as Expense Declaration Approval:
- User fills out the
Expense Formand submits. - The manager approves or sends back for revision.
- Depending on the total amount, the flow routes to
HRorDepartment Head. - Final approval is given by the
Finance Department.
Each node in the flow represents a step in this decision-based workflow, configured using the property inspector.
FAQs
- How to Route Flow Based on Form Field Value?
- Can I Have Multiple Approvers?
- How to Add Approval by a Specific User Group?
- What Is the Purpose of the Comparison Object?
- How to Send Information Back to the Flow Starter?
- How to Assign a Flow Step to Department Manager?